Discover the essential tips and techniques for becoming a bowhunter with our beginner’s guide to bowhunting and archery essentials 🏹 Get the bow!
Getting Started with Bowhunting: A Beginner’s Guide
Bowhunting is an exciting way to harvest wild game that provides a challenging hands-on experience. If you’re new to archery and bowhunting, this comprehensive guide covers everything you need to know to get started.
Choosing the Best Bow for Beginners
The first step is selecting the right bow. Visit a local archery shop and explain you’re new to bowhunting. They’ll measure your draw length and have you test different bow weights to find one you can draw comfortably.
The three main types of bows are:
Compound Bows
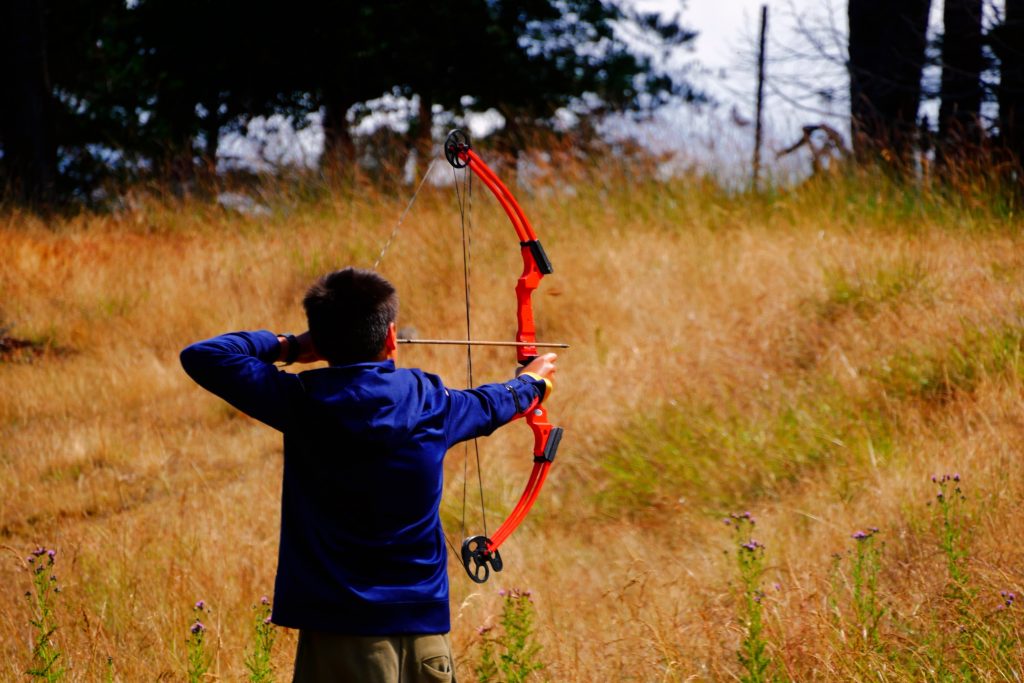
Compound bows are the most popular for bowhunting. They provide let-off, meaning you only hold a fraction of the peak draw weight at full draw. This allows you to aim steadily. Many have wide draw weight adjustability to grow with you. Compounds like the Diamond Infinite Edge are great for beginners.
Recurve Bows
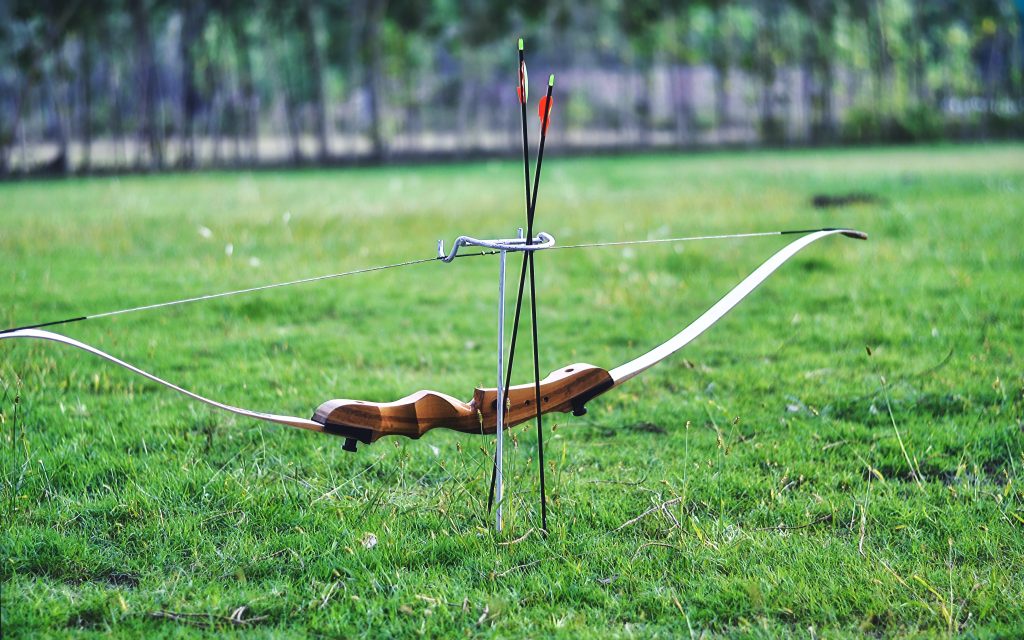
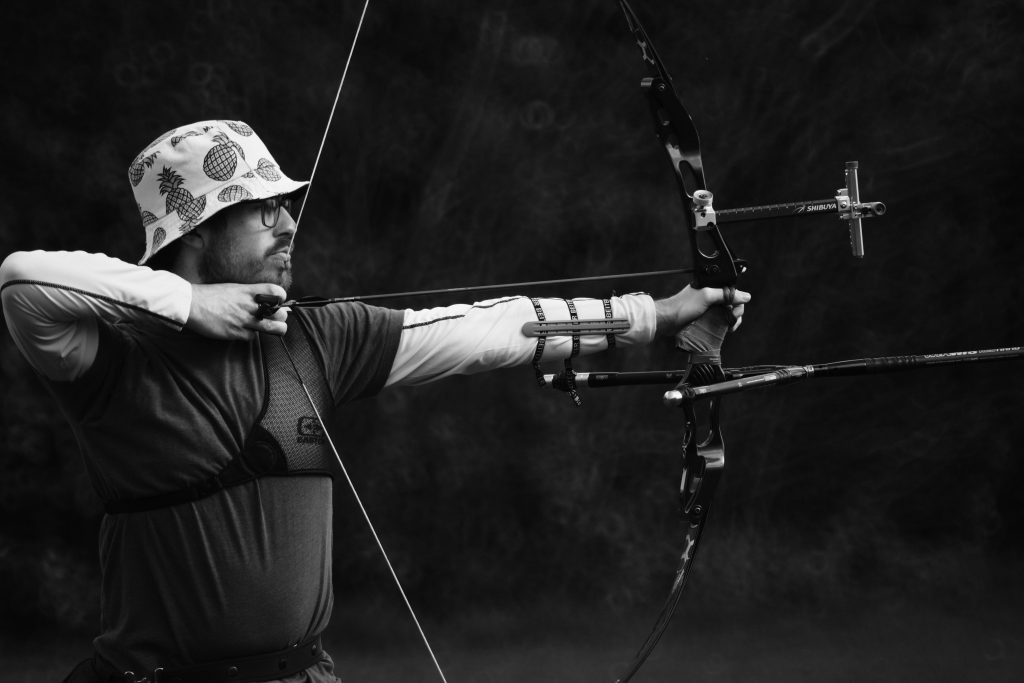
Recurve bows have simpler, traditional designs without let-off. They require strength to hold at full draw. Take-down recurves like the Samick Sage offer adjustable draw weights. Go with a 45-55 lb recurve until you build strength.
Crossbows
Crossbows are easiest to shoot accurately thanks to scoped sights. However, they’re heavy and lack the hands-on experience of vertical bows. Check regulations since they’re restricted in some areas.
Choosing Draw Weight
Avoid going too heavy at first. Your correct starter draw weight depends on your size and strength. Many experts recommend 25-45 lbs for women and 40-55 lbs for men just starting out. You can gradually increase the weight as your muscles develop.
Gear List for Bowhunting Beginners
As a beginner, it’s easy to get overwhelmed with all the bowhunting gear available today. Keep it simple by sticking to these bowhunting basics on your gear list:
Choosing Arrows
Work with a pro shop to select the right arrows matched to your bow specs and draw length. For beginners, carbon arrows offer a great blend of durability, consistency, and affordability. Look for a total arrow weight of around 400 grains if shooting 50-60 lb draw weight bows. Fletch arrows with three-inch plastic vanes in a helical pattern for stability and accuracy when shooting broadheads.
Picking an Arrow Rest
An arrow rest provides an essential platform to support your arrow as you draw and shoot. Whisker Biscuit-style containment rests fully encircle the arrow, making them a very forgiving and easy-to-use option for beginners. They hold the arrow steadily, even if you shift or jostle your bow a bit. Drop-away rests also work well when starting out. Avoid complex rests with multiple moving parts and stick with a simple, reliable model.
Hunting Gear for Bowhunting
You don’t need to spend a fortune fully outfitting yourself for bowhunting right away. Focus on the bowhunting basics: a well-tuned bow matched to you, a dozen properly spined arrows with broadheads and field points, an arm guard, finger tab or release, pin sight, and quiver. Spend money on premium gear for those items. Then add accessories gradually as needed, like a treestand, rangefinder, boots, backpack, and hunting clothes. Buying quality used gear can also help you save money as a beginner.
Becoming a Bowhunter
What defines a bowhunter? The title alone conjures up images of skill, patience, ethics, and a connection to nature. Yet anyone willing to learn proper skills and adopt an ethical mindset can become a bowhunter. It starts with training yourself to think like a hunter. Pick up a bow and start practicing regularly. Learn how deer behave in your hunting area by scouting sign and patterns. As you gain experience through trial and error, you’ll gradually earn your rite of passage into the bowhunting community.
First Bow Setup
Choosing your first bow setup can seem confusing. Keep things simple. Talk with an archery pro at your local bow shop and explain you’re new to archery. They’ll help determine your draw length and ideal bow weight. Many find long-term success starting with a 40-50 lb adjustable compound bow with accessories included like sights and an arrow rest. This versatile setup will allow you to perfect form and accuracy at shorter distances, then increase weight as your skills progress.
Must-Have Archery Gear
Once you’ve selected a bow, you’ll need some essential accessories:
- Arrows – Carbon arrows with three-inch vanes are ideal. Spine weight must match your draw length and weight.
- Arrow Rest – Containment-style rests like the Whisker Biscuit work well for beginners.
- Release Aid – Use a caliper-style wrist strap release when starting out.
- Bow Sight – Get a multi-pin sight with bright fibers and micro-adjustments.
- Quiver – Choose one that securely holds broadheads. Side and bow quivers allow easy access.
- Broadheads – Match weight to your arrows. Fixed or mechanical blades work, ensure they’re razor sharp.
- Arm Guard – Protects your inner forearm from the bow string.
Perfecting Shooting Form
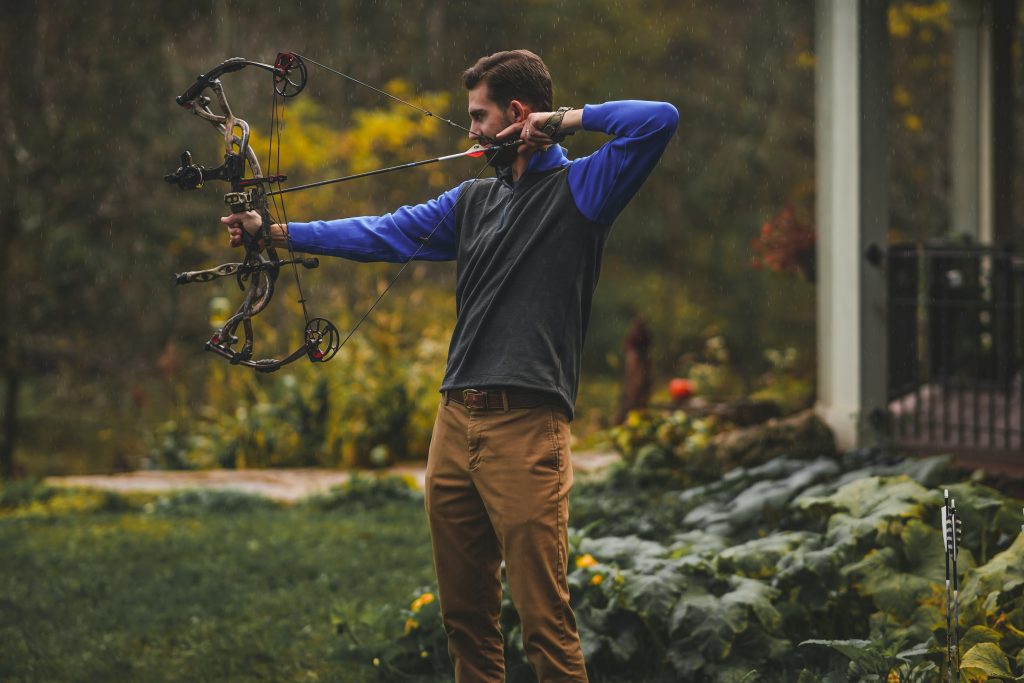
Proper shooting form is crucial for accuracy and consistency. Here are some key points:
- Stance – Feet shoulder-width apart perpendicular to the target.
- Grip – Lightly grip the bow handle using your thumb and fingers.
- Draw – Pull the string back smoothly, drawing elbow up and back.
- Anchor Point – Find a comfortable and repeatable position like the corner of your mouth.
- Aim – Focus intently on your sight pin placed at the target center.
- Release – Squeeze the trigger gently until the shot surprises you.
- Follow Through – Hold steady for a moment after the shot before lowering the bow.
Always draw with an arrow nocked to avoid dry firing which can damage the bow.
Hunting Accessories to Get
Before you hunt, get some additional accessories:
Tree Stand and Safety Harness
Hunting elevated in a treestand improves visibility and helps avoid detection. Always use a safety harness secured to the tree even when climbing.
Rangefinder
Rangefinders make judging distance fast and precise. Get the exact yardage to fine-tune your aim.
Rubber Boots
Scent control starts with your footwear. Rubber boots won’t transfer human odor like fabric boots.
Blind or Brush-In
Adding camo netting or surrounding vegetation helps conceal ground blinds. Remain motionless inside.
Grunt Call
Calling is effective for stopping or attracting deer within range. Practice doe bleats, young buck grunts, and mature buck grunts.
Drag Rope
Use a drag rope to quietly haul your gear into treestands. Never climb with your bow.
Backpack
A compact backpack helps carry small essentials like flashlights, water, snacks, and survival gear.
Accuracy Standards Before Hunting
Before hunting live animals, consistently achieve the following accuracy standards:
- 3-inch groupings out to 20 yards
- 5-inch groupings out to 30 yards
- Be able to hit a pie plate 7 times out of 10 at 30 yards
Practice regularly to ingrain proper shooting mechanics.
Scouting Locations for Deer Signs
To find promising hunting spots, scout areas beforehand looking for:
- Rubs and scrapes – Mark territories and are revisited.
- Game trails – Look for converging trails and natural funnels.
- Feeding areas – Find places deer feed mornings and evenings.
- Bedding areas – Identify where deer bed and stay during the day.
- Tracks – Distinguish bucks, does, and fawns by size of tracks.
- Scat – Fresher droppings mean recent deer activity.
Setting up between bedding and feeding areas that show fresh sign of deer creates great ambush sites.
Understanding Deer Behavior
The more you understand deer behavior, the better you can predict deer movement patterns:
- Deer move most frequently at dusk and dawn transition periods.
- They regularly bed in thick cover during the day and feed in more open areas morning and evening.
- Deer orient themselves based on wind direction, avoiding moving into steady winds.
- In rut, buck patterns change dramatically as they pursue does aggressively.
- During full moons, deer activity occurs later at night and earlier in the morning.
Consider deer behavior when selecting stand sites and timing your hunts.
Safety Tips for Bowhunting Beginners
Follow these safe bowhunting practices:
- Take an approved hunter’s safety course even if not required.
- Always know your target and what’s beyond it before shooting.
- Use a haul line to raise and lower your bow from elevated stands.
- Wear a full-body safety harness secured to the tree at all times.
- Identify yourself with orange during rifle seasons.
- Tell someone your hunting location and when you plan to return.
- Keep broadheads covered with a quiver until ready to shoot.
Mastering the Hunting Experience
With the right gear, preparation, and practice, you’ll be ready to head out bowhunting. Here are some final tips for beginners:
- Remain patient and hunt all day if needed.
- Bring snacks and water to remain energized and hydrated.
- Have realistic expectations; some days you may not see deer.
- Control scent by hunting into the wind and using cover scent.
- Use a doe bleat call to draw deer in close.
- Aim for double lung shots broadside for the highest odds of recovery.
- After the shot, give a deer time before trailing it.
- Mark the blood trail if you lose sight of a hit deer.
- Bone up on field dressing and butchering techniques beforehand.
With persistence through the learning curve, bowhunting provides an amazing hands-on hunting experience. Follow this guide and you’ll gain the knowledge and skills to get started bowhunting successfully.
Following the Blood Trail from Your First Deer
One of the biggest fears when first bowhunting is not being able to recover your deer after the shot. Here’s how to track it successfully:
Mark the Shot Location
After releasing your arrow, carefully mark the deer’s exact position in your mind. If needed, place a reflective marker where you last saw the deer before it ran. This will provide a reference point to begin the trail from later.
Analyze Deer Behavior
Analyze the deer’s body language after the hit. Did it hunch up and run in a crouched posture or bolt out frantically? Tail position and checked forward stride can also indicate the shot placement. These signs help determine if the hit was fatal or not.
Look for Clues Near the Spot
Check for blood, hair, or bone fragments right where the deer was standing. Bright red blood and bubbles indicate a lung shot. Dark blood could mean a muscle hit. Greenish matter shows a liver shot. Bone or meat means a poor shot placement.
Give Time Before Trailing
After noting signs at the spot, quietly back out and give the deer at least 30-60 minutes before trailing. This allows the animal to bed down and expire so you don’t risk pushing it too far when tracking.
Follow the Blood Trail
Return later and follow the blood carefully. Bring a flashlight to spot blood after dark. Look 20-30 yards ahead for the next spot rather than just your feet. Use a tracking stick to mark last blood and pinpoint the trail. A hit deer rarely runs over 150 yards. With persistence, you’ll find your prize.
Hunting is good, but how about hooking? Join Invme Dating App to try out!
Invme.com is a free city social network app to discover and share what is happening here and now in your city. Share, discover and connect: invme.com offers both locals and tourists the way to share events in the city in an easier way.
Hunter’s License Requirements in Canada
To legally hunt in Canada, you must pass a hunter education course and purchase the proper licenses. Here are some key steps:
Take Hunter’s Education
Most provinces require completing an approved hunter education course to obtain a license. Courses cover safety, regulations, ethics, first aid, wildlife management, outdoor survival skills, and more. You can take in-person classes or online. Tests confirm you learned key concepts.
Buy a License
After completing your course, purchase a hunting license valid for your province. You can get these online, at vendors, or at government agencies. A small game license covers animals like rabbits, grouse, squirrels, and raccoons. For big game like deer, moose, elk, and bear, you need a separate tag.
Know Tag Application Deadlines
For limited-entry big game tags, you must apply by set deadlines through an application process. Apply as early as allowed to increase your odds. Unclaimed tags may become available late in the season if drawn hunters don’t fill tags.
Follow Regulations
Study provincial hunting regulations thoroughly. Follow all requirements for hunter orange, reporting harvested animals, transporting meat, possessing only one tag, and hunting method restrictions. Penalties including seizure, fines, and losing hunting privileges apply to violations.
Acquire Other Permits
Additional permits like Access to Basic Hunting permits or special licenses may be mandated if you are a foreign resident or do not have permanent resident status in Canada. Contact provincial wildlife agencies for complete requirements based on your situation.
Permission to Hunt Private Land
Gaining access to hunt private land greatly expands your options. Scout potential properties beforehand. Then make an effort to meet each landowner in person rather than just mailing a letter. Discuss your background and interest in hunting. Offer to help repair fences or perform other tasks in return for permission. If the owner has any concerns, address them upfront. Once granted permission, follow all conditions set by the landowner to maintain a positive relationship.
Following all hunter education, licensing, and regulation requirements helps preserve ethical sport hunting in Canada’s exceptional wildlife habitats for the benefit of future generations.
